

Highbrook Drive: A Look Back

Karl and I purchased Highbrook Drive in November of 2017. Karl was still in school and we were living in a 2 bedroom apartment in Peachtree Hills. By that point, I had been selling real estate for over 7 years and had established a nice little business. However, and I don’t know if other self-employed individuals feel this way, I always felt like the faucet could turn off at any point. I was so nervous to even consider purchasing a home before Karl was done with school.
Highbrook was listed in August and had 2 price reductions before we even stepped foot in the house. One of my best friends lived across the street and she nudged us to check it out. Karl and I went to look “just for fun”. We both walked around the house independently for about 20 minutes. Afterwards we look at one another and both said that we loved it. Now what?! (see photo below haha)
Do as I say, not as I do. I didn’t know if we could afford it. I called my lender who I had worked with on countless deals on the drive home. She told me to get a handful of documents in to her that night. Sure enough, at a price pretty close to list price, we could make it work! We put together a clean offer and within 24 hours, we were under contract!

When you find a house you LOVE and it was completely not in your plans.
Highbrook was a great house from the start. It checked all of the boxes that we could have dreamed of for our starter home. It is a 3 bedroom/2 bathroom home on a quiet dead end street in an ideal North Buckhead location. A 1950s brick ranch home with a two car garage and an unfinished basement. Just under 1700 square feet on the main level. It has hardwood floors throughout and great bones. I knew the minute I walked in that with a little love and some prayer than my mother’s design eye had rubbed off some, I could turn her into something really magical.
I love some good before and after shots, so I thought this would be a fun way to share how we made our first home one that we will always be proud of.
Exterior
It took us until the last year we lived here to FINALLY paint the exterior. I wanted it to be a creamy white with sage green shutters. The shutters turned out more blue than I thought I wanted, but I ended up loving it. The house feels so fresh now, and it isn’t the same white white brick that everyone has been doing lately.
We painted the brick Sherwin Williams Natural Choice and the shutters and front door are Sherwin Williams Austere Gray. We never did a lot to our backyard landscaping. I had big plans for a fire pit, screened porch, etc. but it just kept getting put off. We did get a screened porch quoted, but it was at the height of lumber costs. If we were staying for years more, we definitely would have moved forward on it. It sounds like the next owner may be adding one, so I am very excited about that!
In the front yard, we just cleaned up the landscaping. We removed the monkey-grass (I do not recommend doing this on your own!!!), and made it more structured with boxwoods and hydrangeas. We also transplanted the gardenia bush and it bloomed this year!
Before After


Living Area
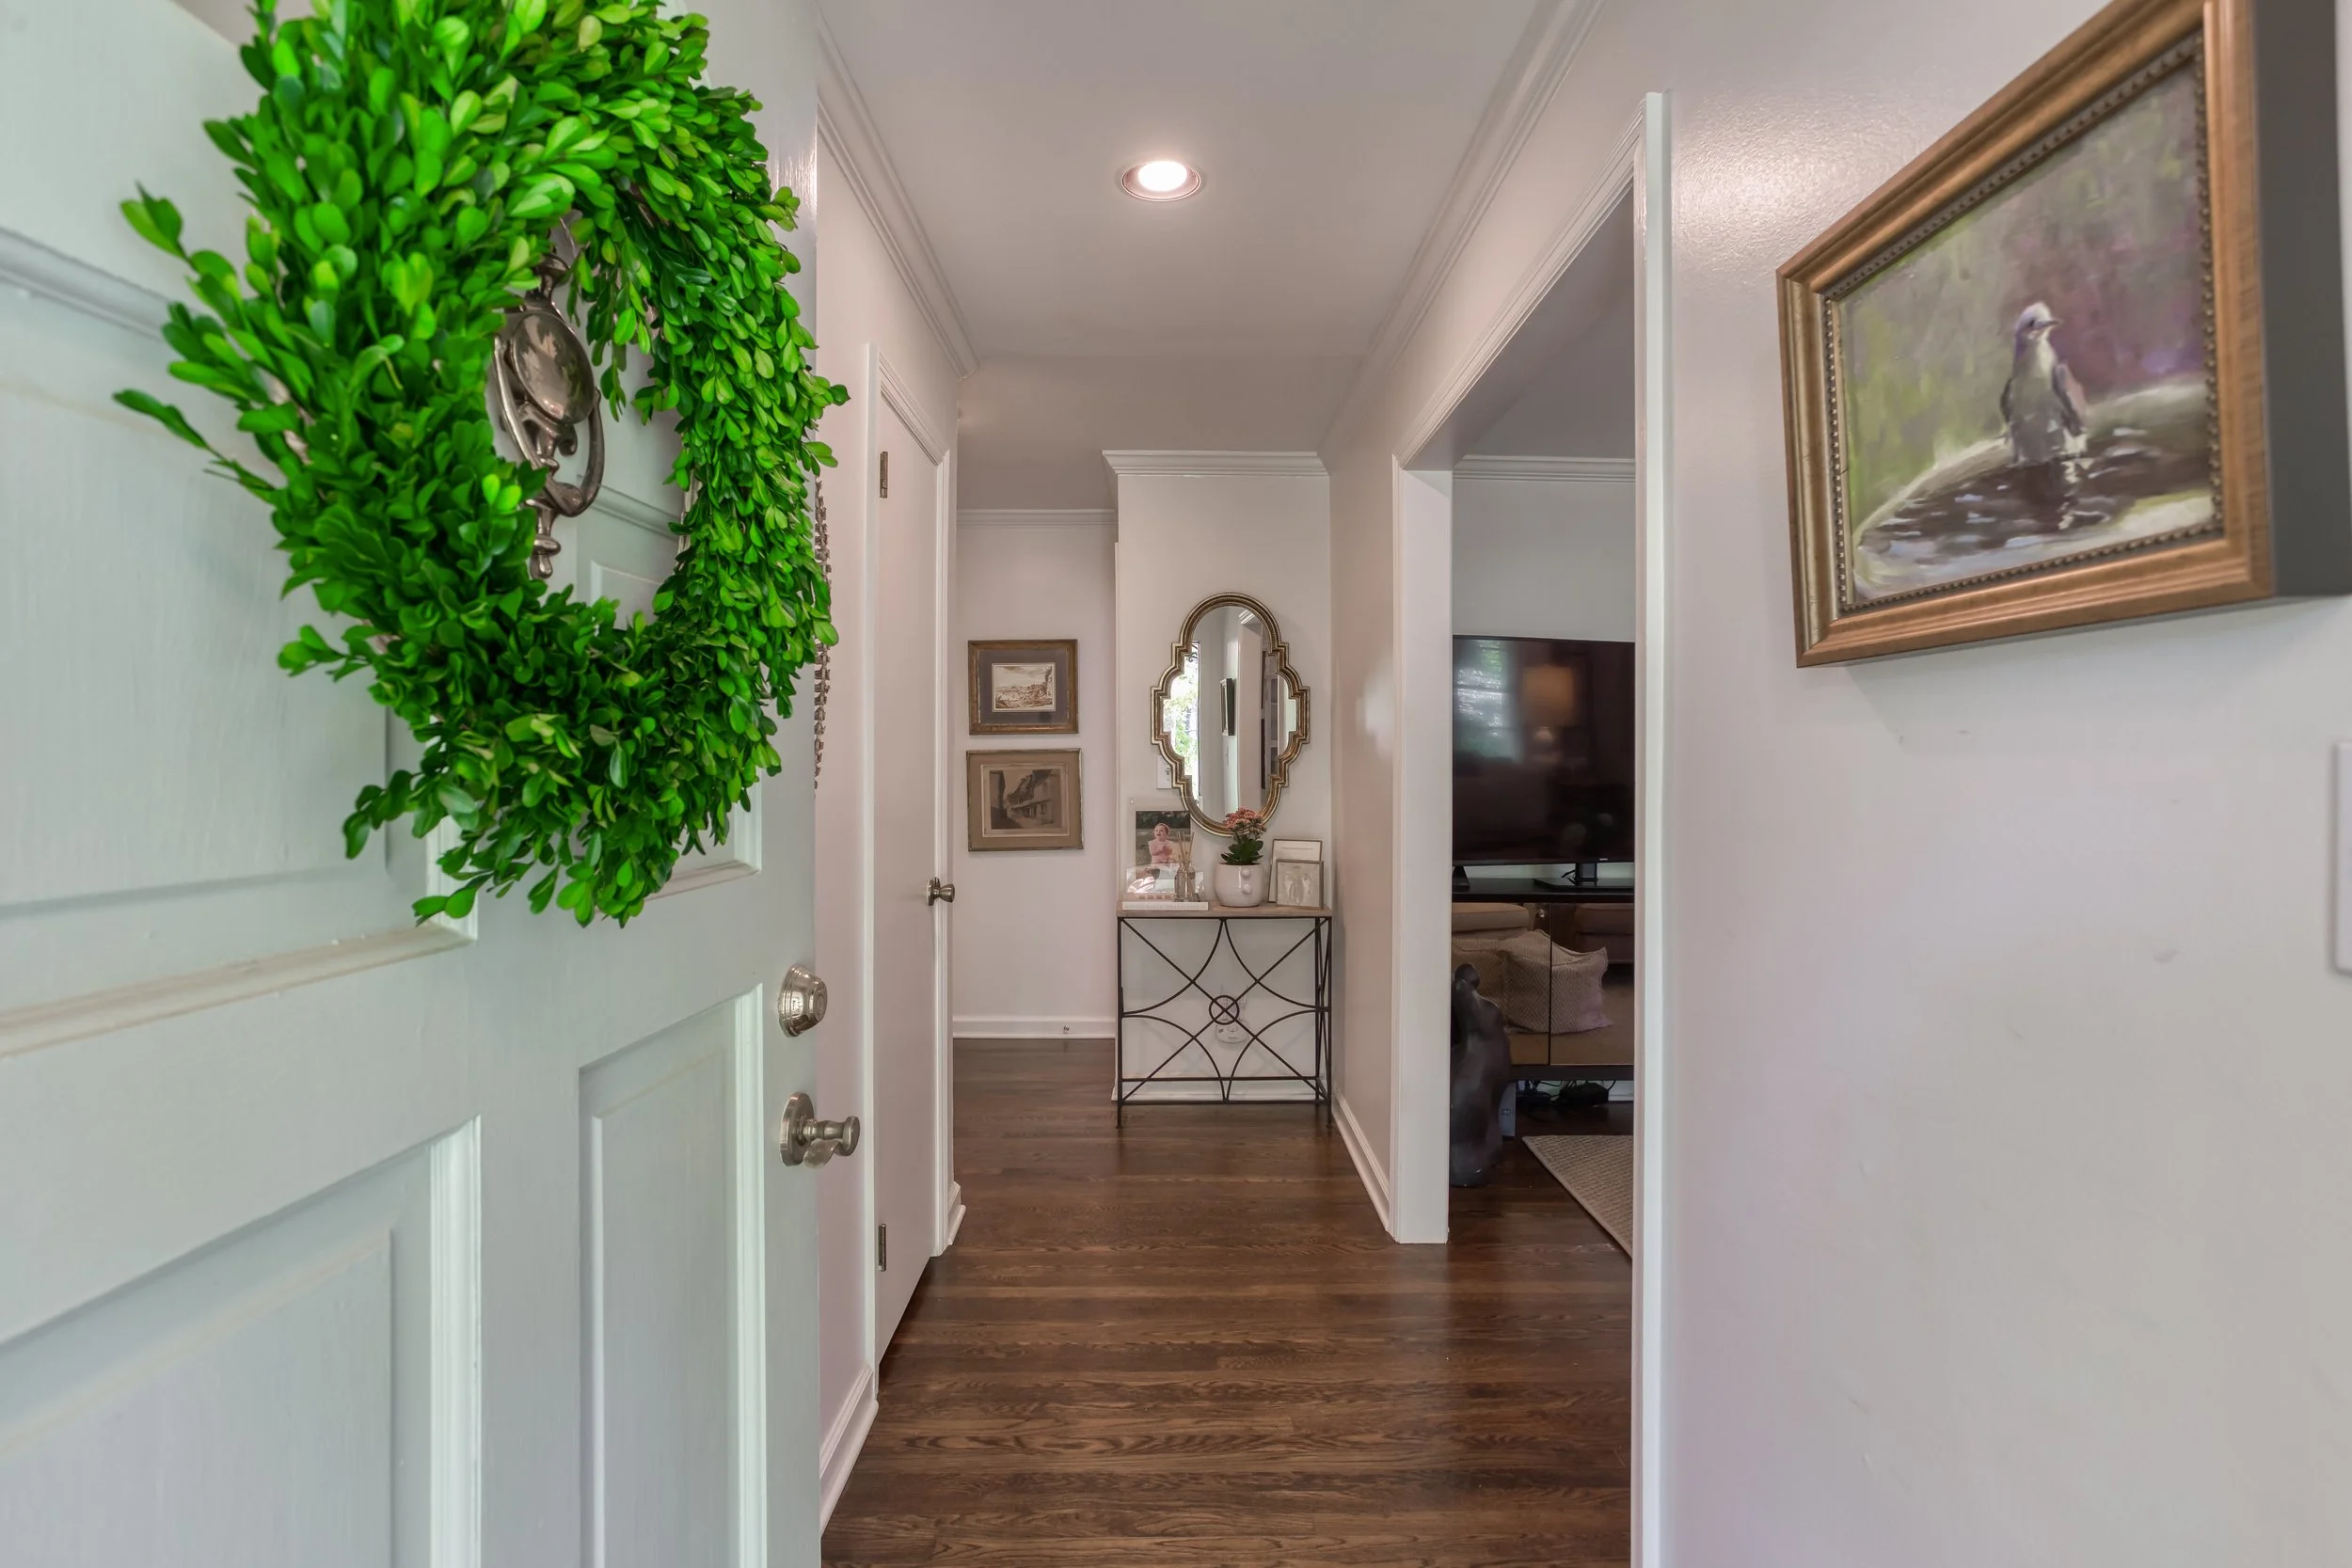
We did three things to the house before we moved in. We painted the interior living spaces (ceilings, walls, trim), dining room, kitchen cabinets, fireplace and the hall bath. We decided to wait on the bedrooms. We redid the hardwood floors. All Karl kept saying before we closed was, “i just hate the yellow floors”. Ditto dude. Lastly, we added a cased opening between the main living room and the kitchen/den area. I don’t love huge open floorplans, but I knew that the way our future family would live and how I loved to entertain, this small inexpensive edit was going to make a huge impact!
We decided on a DuraSeal Dark Walnut stain for the floors. The walls, ceiling and trim were all painted Sherwin Williams Alabaster in different finishes. Eggshell on the walls, flat on the ceiling and semi-gloss for the trim. Here is a list of some of the stores I used to furnish: Linen & Flax, Peridot, Ballard Designs, West Elm, Nadeau, my mom’s old store Savvy Snoot and plenty of her notable hand me downs.
Before After


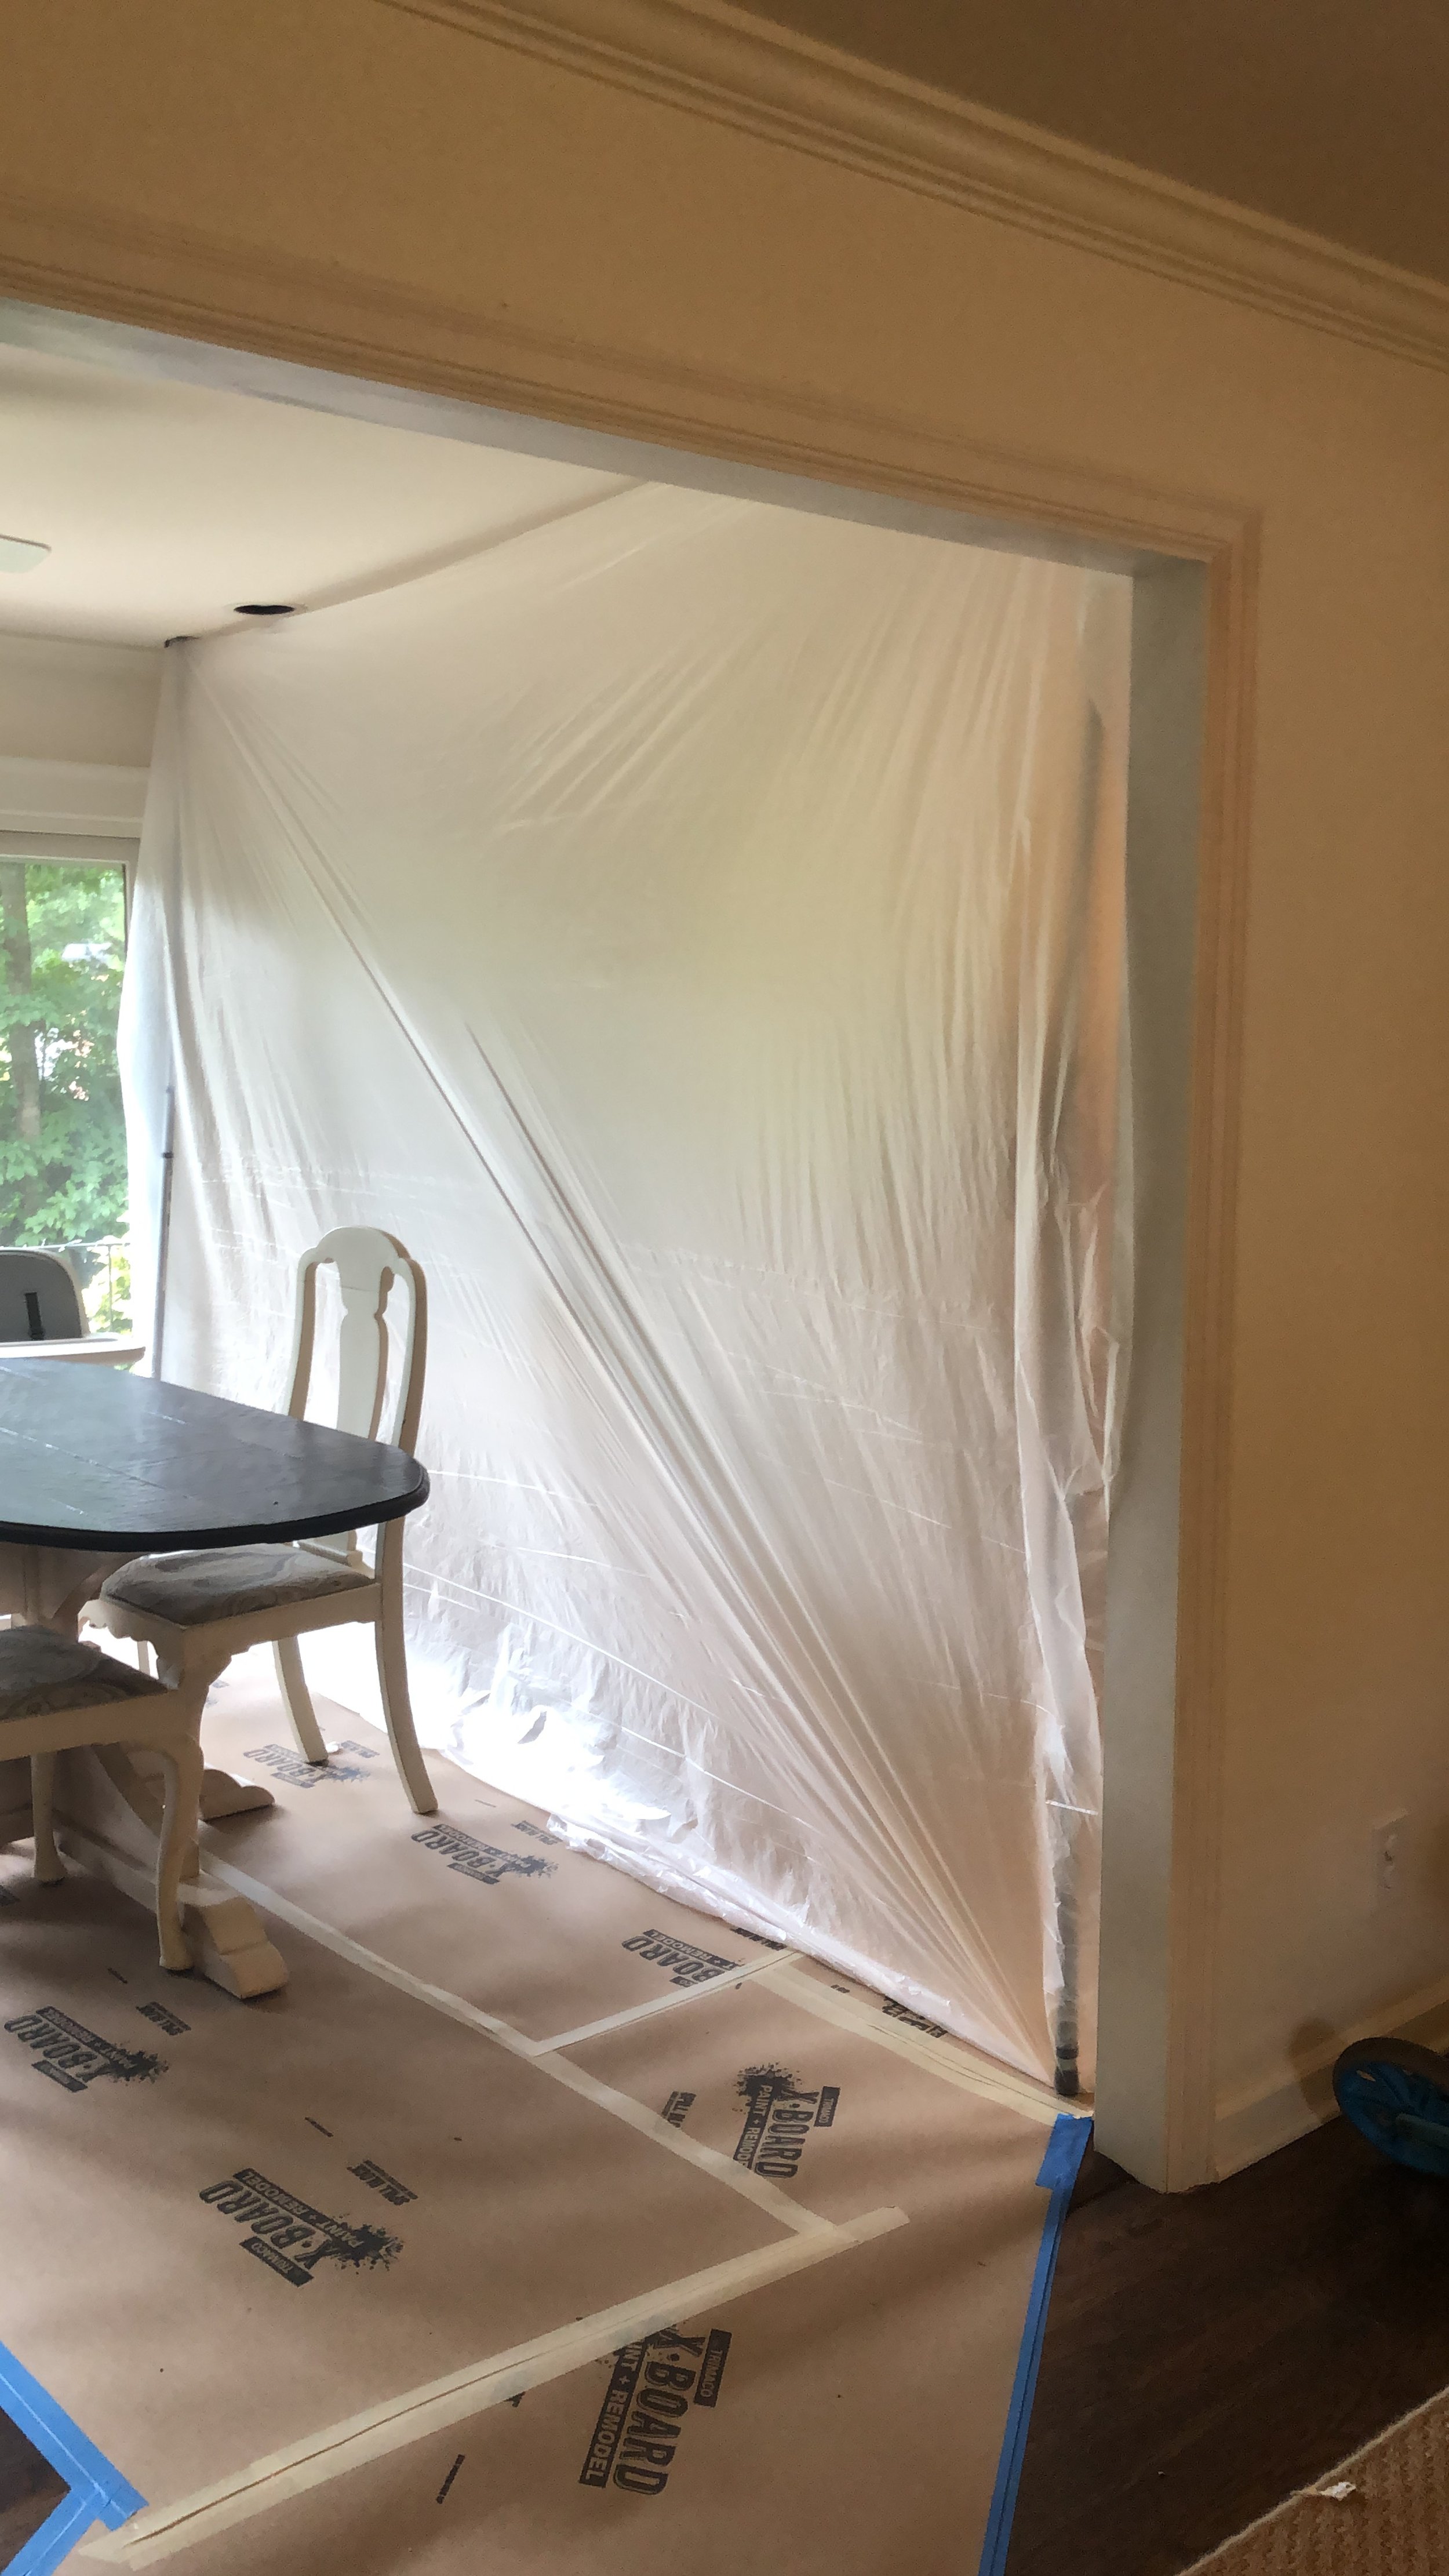
During


Keeping Room and Kitchen
When we first moved in, we just painted the cabinets in the kitchen. In 2020, we pulled the trigger on updating the kitchen. We changed out the countertops, removed upper cabinets, added a new section of cabinets, installed new backsplash and added some fun light fixtures.
Sources for some furniture and items on the renovation of the kitchen: Westside Market (Rug), Serena and Lily (Kitchen chairs that I borrowed for listing photos because I never bought kitchen chairs. I just stole them from dining room ha), Scotts Antique Market (kitchen table), Wayfair (island light fixtures and wooden shelves), Build.com (Faucet), Floor & Decor (backsplash), Home Depot (farmhouse sink and under cabinet hood), honed Carrara marble for countertops sourced from Cosmos. Even though the before photos make it look like the cabinets are already beige, they were actually a white that needed some love. We painted the cabinets Sherwin Williams Shiitake.
Before After


During


Dining Room
I knew I wanted a moody dining room. I love this color so much. Sherwin Williams Porpoise. It is like a brown/black. Karl tells me he feels like he is at Houston’s when he eats in here. If you can’t tell, I am also a big fan of painting the ceiling, trim and walls the same color.
Sources for some furniture and items in the dining room: Englishman’s (table), Facebook Marketplace for the chairs ($125 for 6!), Ballard (light fixture), Ikea (curtains), Target (rug), mirrors and art were my moms :)
Before After


Primary Bedroom
So, this room was moved to the bottom of the list upon move in. I don’t know why, but it wasn’t a top priority. We painted it for the first time this year! We updated the bathroom at the same time we did the kitchen in the summer of 2020. Very pleased with how it turned out! Note: drives me crazy that my bed looks like my dog just jumped off.
Sources and paint colors for bedroom and bathroom: Sherwin Williams Accessible Beige (Bedroom Paint), Sherwin Williams Sea Salt (Bathroom Paint), Myers Carpet (rug), Wayfair (lamps and side table), Macy’s (dresser), Scott’s (headboard), Restoration Hardware (bedding), Mom’s art, Kohler (All bathroom fixtures in polished nickel)
Before After


Kids’ Bedrooms
We redid these rooms as the kids came along. When we first moved in, we did not touch them. When I was pregnant with my daughter, we turned what Karl was using as an office into her nursery. We found the same pattern from Ralph Lauren that my mom had used in my nursery. We added the picture molding ourselves. I did not hang her wallpaper. I did, however, hang my son’s wallpaper. Pretty proud of myself on that one.
Sources kids’ bedrooms: Ralph Lauren Matilda Ribbon (Pink Wallpaper), Ballard (Pink Curtains), Homegoods (frames and garden stool), Crib in pink nursery, Crib in blue nursery, Etsy (Art), Wayfair (lamp and chair), Mine from childhood (daybed).
Before After


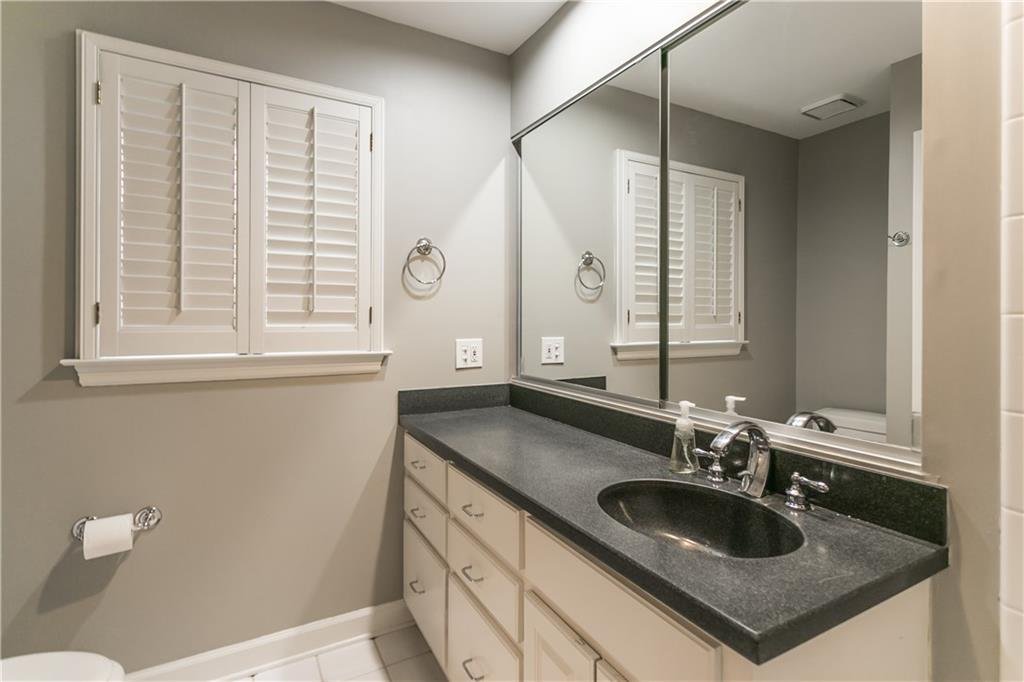
Guest Bathroom
Didn’t really do much here. When we moved in, we painted the room SW Porpoise because I knew I didn’t want grey or white. I was never really happy with it. When we painted the exterior and primary bedroom, we decided to go with the SW color of the year Evergreen Fog. Love!
Before After


